Clocking incidents
If for any reason, an employee has clocked from mobile or automatic clocking has been activated in their workday, we can confirm or modify the clocking from Clocking Incidents.
Modify clockings
-
Open the application menu and in the Time Control section click on Clocking Incidents.
-
In the list all pending clockings appear, both Maximum Day AUTO and Mobile Clocking.
-
Click on Details in the employee's line you want to see.
-
Once you have clicked a screen will appear where you can Modify or Confirm the clocking.
-
If you want to modify it click on Modify.
-
In Clocking Date you can change if necessary the day and time the clocking was made.
-
In Observations you can add the reason why the clocking was left pending.
-
Click on Confirm Changes to save the changes.
-
If you want to confirm the clocking directly, click on Confirm.
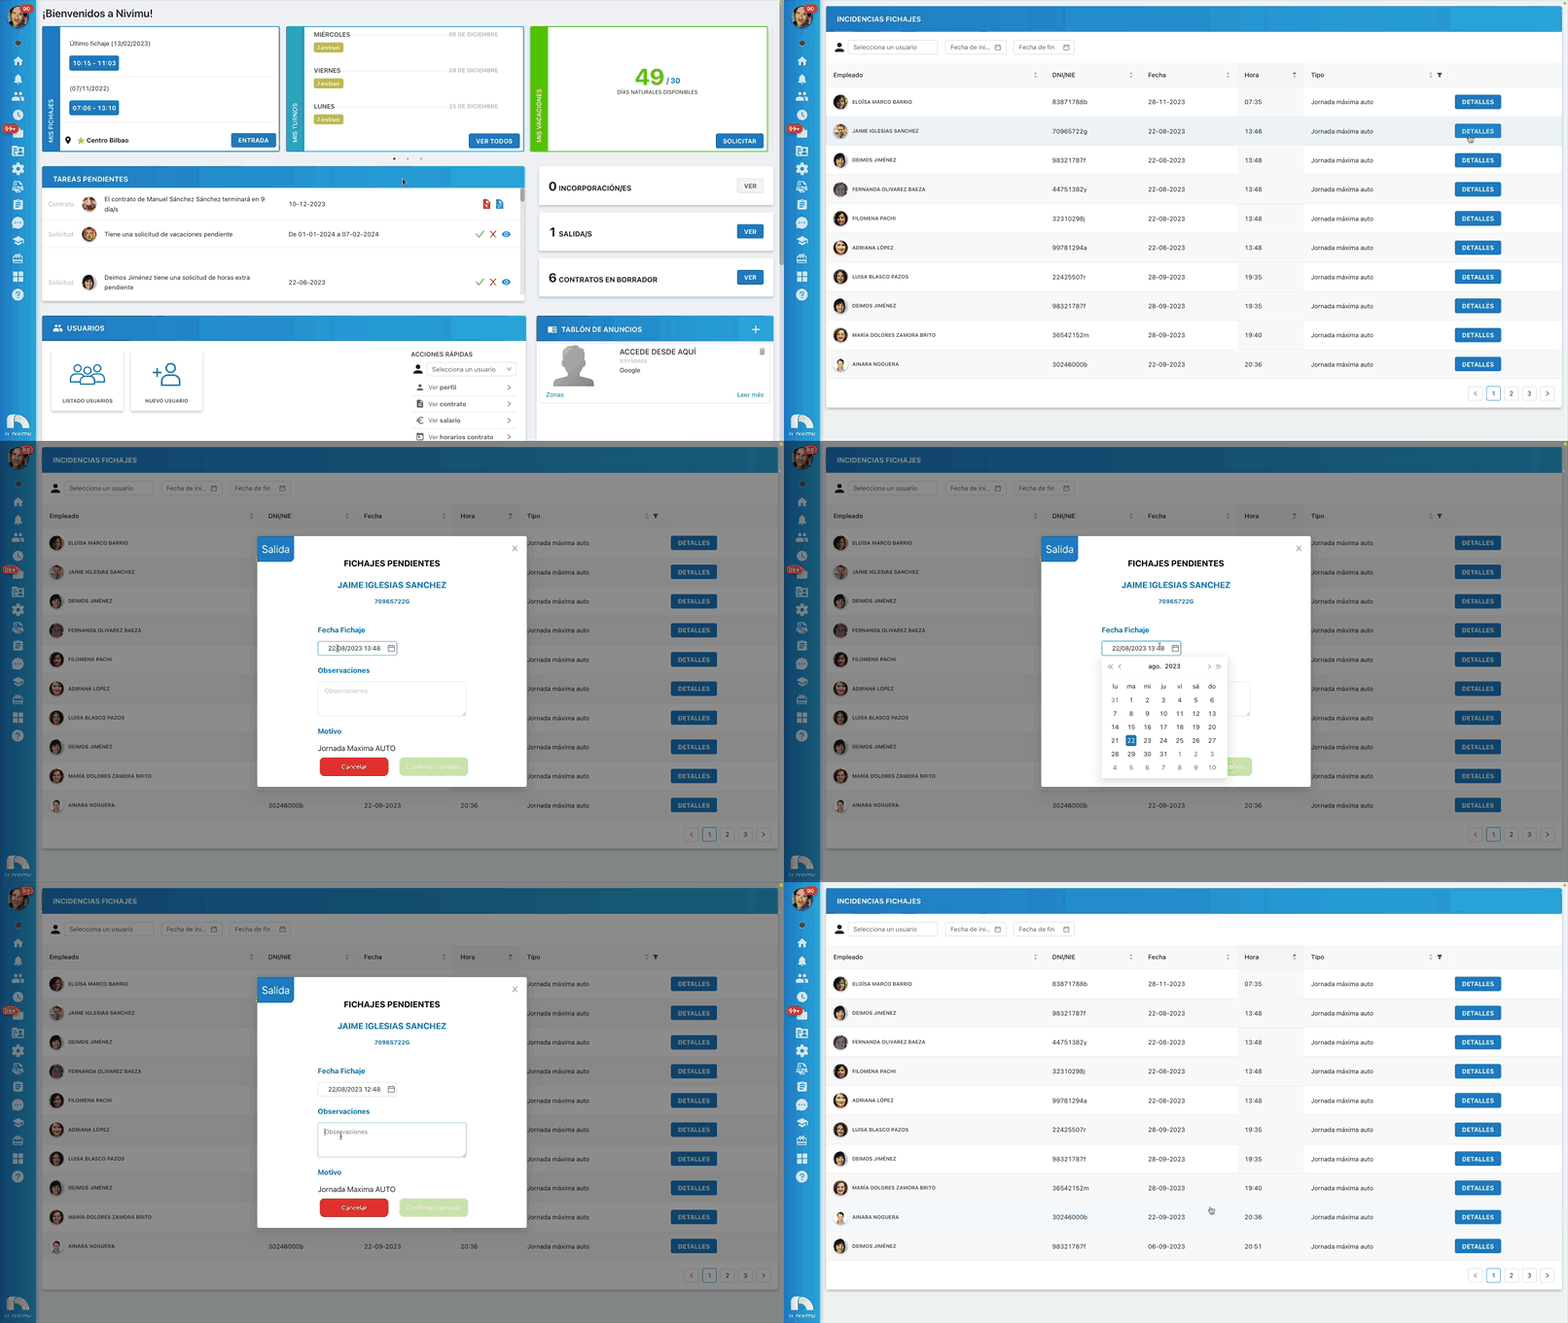
Maximum Day AUTO type clockings are security clockings to avoid workdays that do not fit the schedule.
Filter content
- Open the application menu and in the Time Control section click on Clocking Incidents.
- If you want to search for a specific employee's clocking, click on Search employee and write the name of said employee.
- If you want to filter by a specific time period to view clockings during that period, click on Start Date and End Date.
- Mark on the calendar the start or end day of the period you want to view. In the calendar you can change month and year by clicking on the arrows located on the sides of the month.
- If you want to filter based on the type of pending clocking click on the filter button and check the box of the content you want to see.
- Then click on OK.
If you want to remove the clocking type filters click on the filter button again and then on Clear. The table will show all clockings again.
🕒 Management of excess/defect hours incidents in Time Control
✅ What's new?
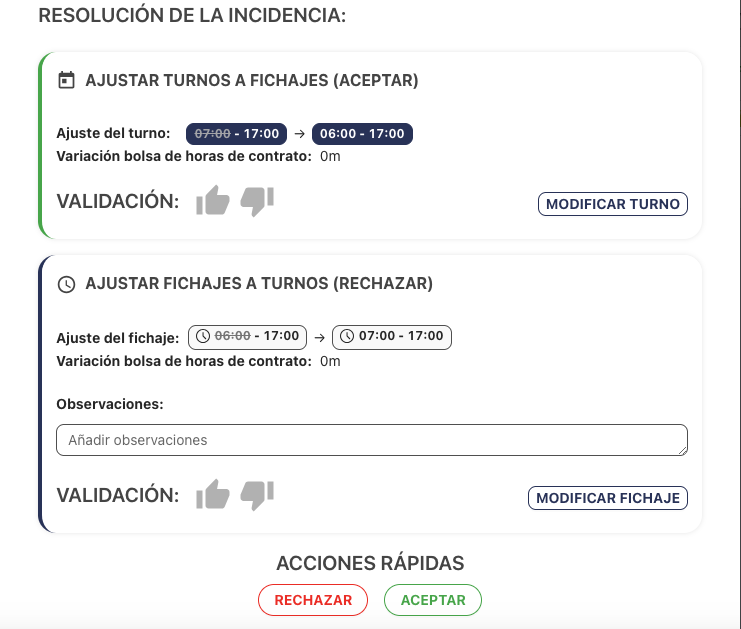
Now you can adjust shifts to clockings or clockings to shifts directly from the incident, and validate the action with the 👍 or 👎 icons.
📌 Steps to manage an incident
1. Access the Time Control module
- Enter the Nivimu app.
- Go to the Time Control section.
2. Identify the incident
- Click on the orange triangle that indicates there is an incident.
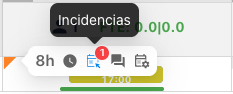
- Select the corresponding incident:
- Hours defect
- Hours excess
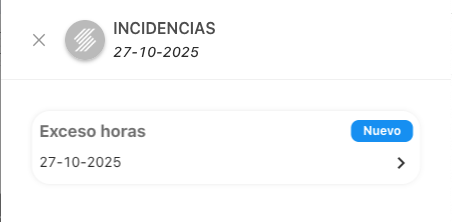
3. Incident resolution
When clicking on the incident, you access its detail. From here you can:
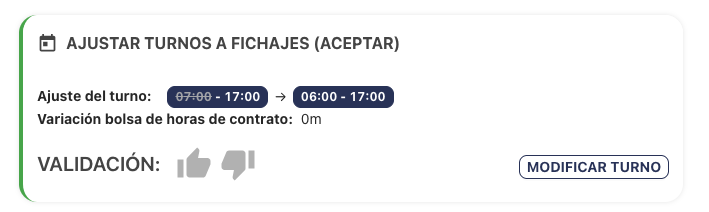
🔄 Adjust shifts to clockings (Accept)
- The shift is modified to adapt it to the clockings performed.
- You can validate with:
- 👍
- 👎
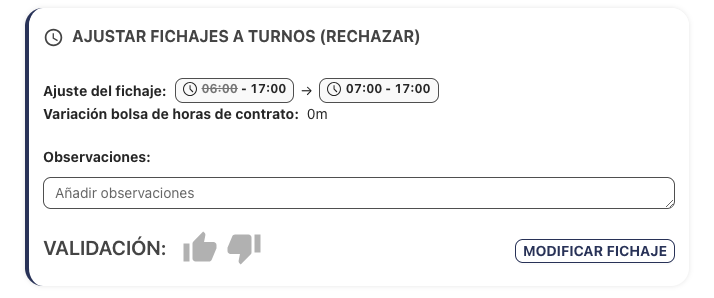
🔁 Adjust clockings to shifts (Reject)
- The clockings are modified to fit the established shift.
- You can also validate with:
- 👍
- 👎
4. Quick actions
- You can validate directly from the incidents list:
- ✅ Accept
- ❌ Reject
- In observations you can add explanatory comments if necessary to leave traceability of the decision made.
