Add Quiz 📚
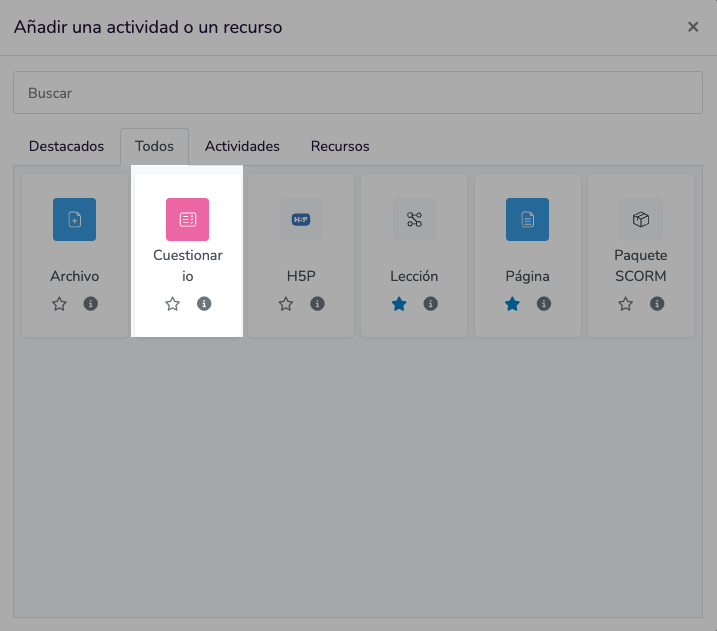
Step 1: Select "Quiz"
-
In the list of activities and resources, select "Quiz".
-
Click on "Add".
Step 2: Complete the configuration form
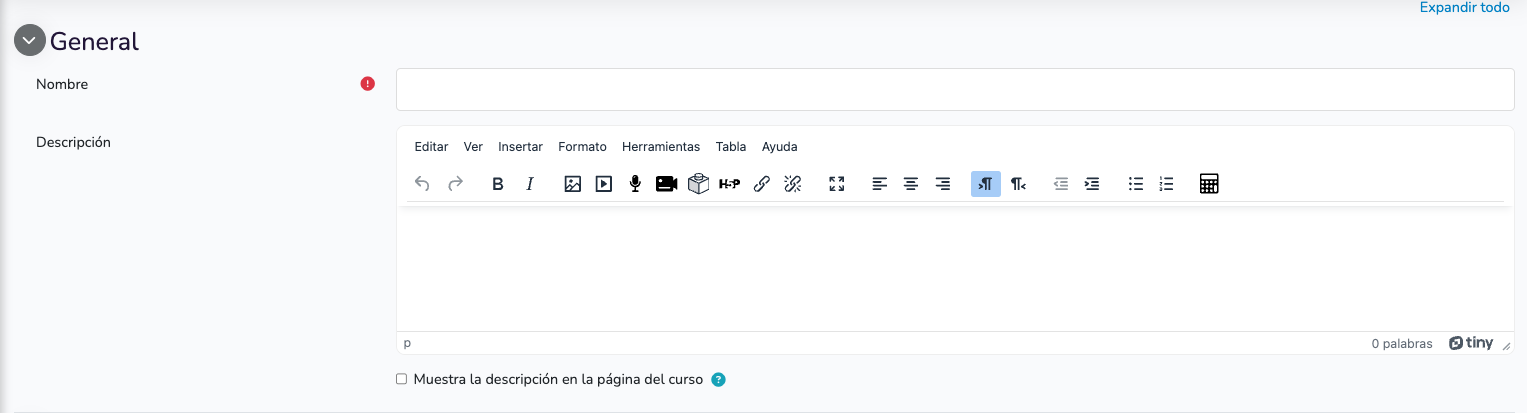
General
- Name: Enter the name of the quiz. This will be visible to students in the course.
- Example: "History Exam - Topic 1"
- Description: Write a brief description of the quiz. You can use this area to provide instructions or context about the quiz.
- Example: "This quiz covers historical events of the 19th century. You have 60 minutes to complete it."
- Show description on course page: Check this option if you want the description to be displayed on the course main page.
Timing
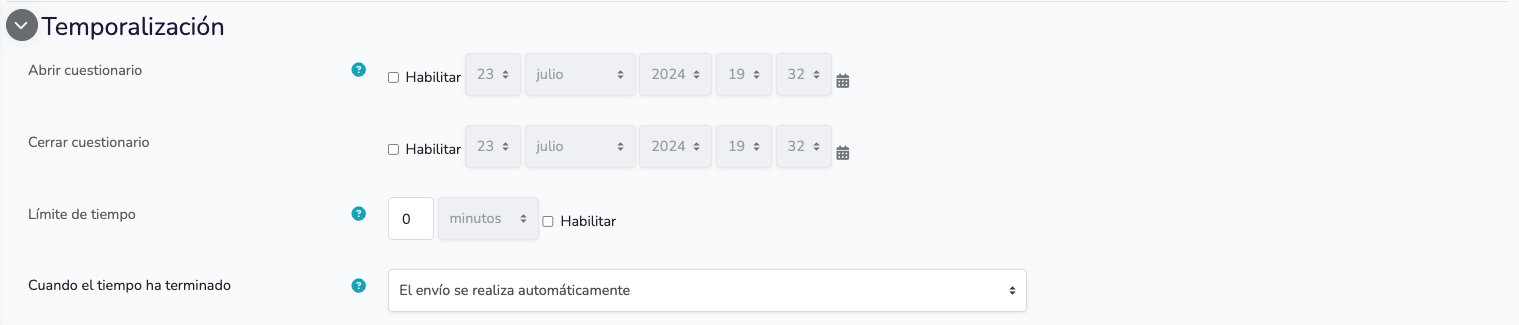
- Open the quiz: Define the date and time from which students can start attempting the quiz.
- Example: "Open on August 1 at 10:00 AM"
- Close the quiz: Define the date and time after which no more attempts will be allowed.
- Example: "Close on August 8 at 10:00 PM"
- Time limit: Set a time limit to complete the quiz. You can leave it blank if you do not want to impose a limit.
- Example: "60 minutes"
- Grace period to submit: If there is a time limit, you can allow a grace period to submit attempts after the time has run out.
- Example: "Allow 5 minutes grace period to submit"
Grading
- Grade category: Select the gradebook category in which this quiz will be included.
- Example: "Exams"
- Grade to pass: Determine the minimum grade required to pass
- Attempts allowed: Define how many times students can attempt the quiz. You can choose between a single attempt, multiple attempts, or unlimited.
- Example: "2 attempts allowed"
- Grading method: If you allow multiple attempts, select how the final grade will be calculated:
- Highest grade: The final grade will be the highest of all attempts.
- Average of grades: The final grade will be the average of all attempts.
- First attempt: The final grade will be that of the first attempt.
- Last attempt: The final grade will be that of the last attempt.

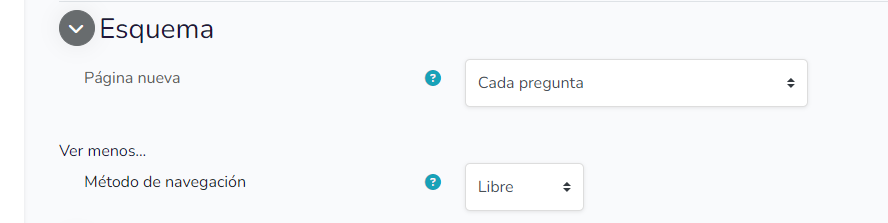
Layout
- New page: Define how many questions will be displayed per page. This helps control the length of the quiz pages.
- Example: "Every 2 questions"
- Navigation: Select if students can navigate freely between questions or if they must answer them in sequential order.
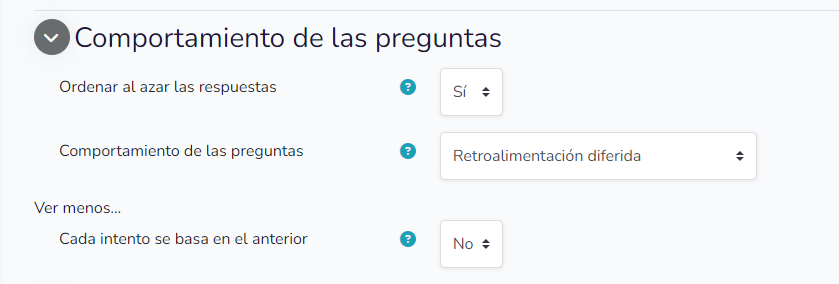
Question Behavior
- Shuffle answers: Answers will be shuffled randomly each time the student starts answering the quiz (applicable in cases of multiple elements).
- Question behavior: Decide if students will receive feedback immediately after answering a question or at the end of the quiz.
- Example: "Deferred feedback"
- Each attempt builds on the last: Allows starting from the previous result when making a new attempt.
Review Options
- During the attempt: Configure what students can see during the attempt (such as immediate feedback).
- Example: "Show feedback during the attempt"
- On submitting the attempt: Configure what students can see right after submitting the attempt.
- Example: "Show grades and feedback"
- Later, while the quiz is still open: Configure what students can see while the quiz is still available for more attempts.
- Example: "Show correct answers and feedback"
- After the quiz is closed: Configure what students can see once the quiz has been closed.
- Example: "Show all review options"

Appearance
- Show user picture: Decide whether to show students' profile pictures during the quiz.
- Example: "Small image"
- Number of decimal places in grades: Define how many decimal places will be displayed in the grades.
- Example: "2"

Safe Exam Browser
- Enable Safe Exam Browser: You can enable Safe Exam Browser to increase security during students' attempts.
- Example: "Enable Safe Exam Browser"
- Safe Exam Browser configuration: Configure additional security options according to your needs.

Extra Restrictions on Attempts
- Quiz password: Set a password that students must enter to access the quiz.
- Example: "Password: history2024"
- Restricted IP addresses: Limit access to the quiz to a specific range of IP addresses.
- Example: "IP range: 192.168.1.1 - 192.168.1.100"

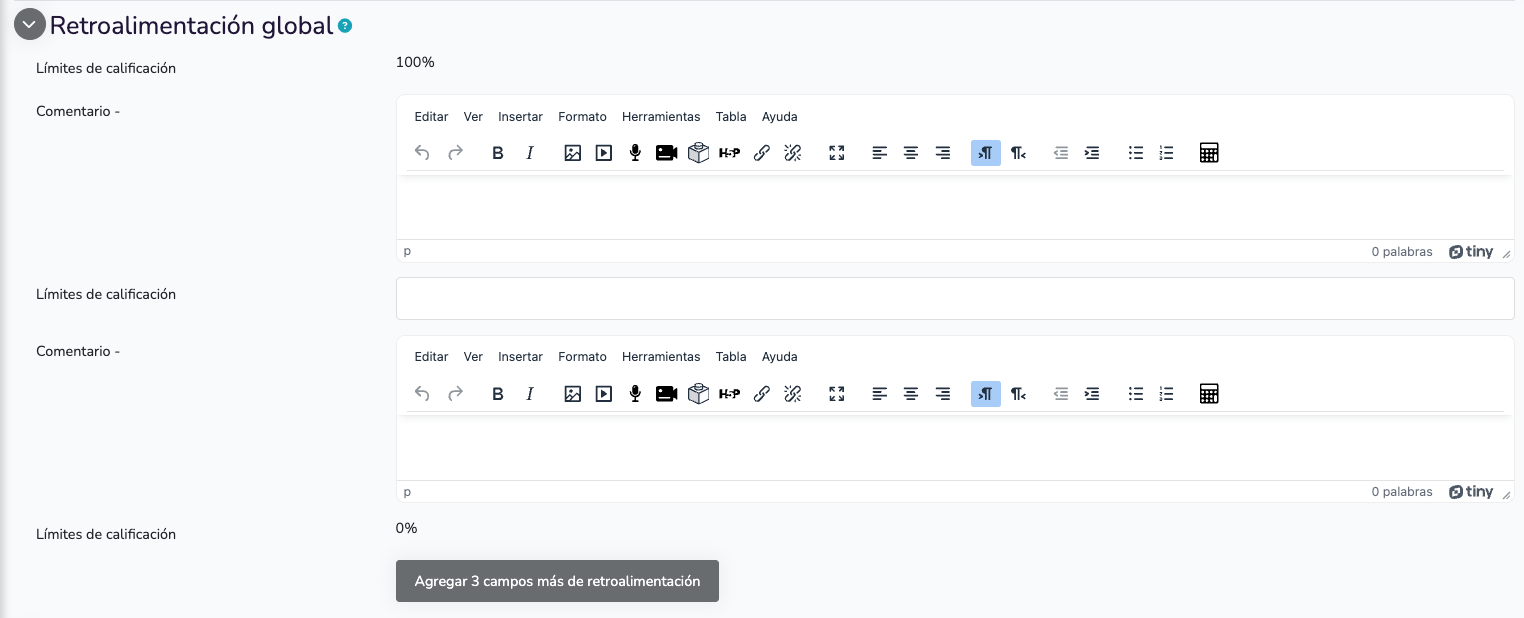
Overall Feedback
Provides feedback that students will see after completing the quiz, based on the grade obtained. You can customize it according to the grade obtained.
- Example: "Feedback for grades above 80%: Excellent work!"
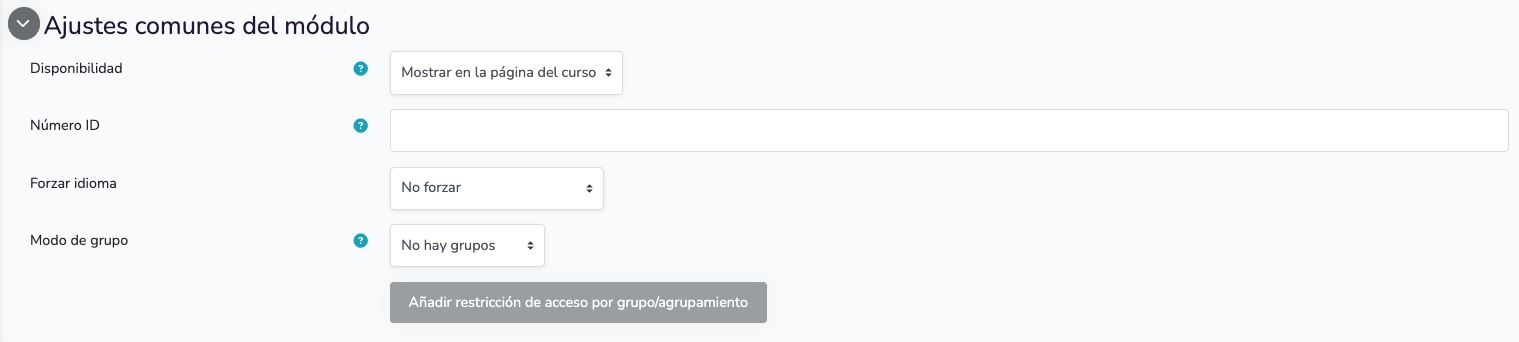
Common Module Settings
- Availability: Decide if the quiz will be visible to students (show) or if it will be hidden (hide).
- ID number: This field is optional and is used to identify the activity in the gradebook
- Force language: This option allows selecting a specific language for the module, replacing the site's default language for students accessing this particular module.
- Group mode: Allows deciding if students are divided into groups or not.
Access Restrictions
You can configure restrictions based on dates, grades, completion of other activities, groups, etc. This allows more detailed control over who and when can access the quiz.
- Example: "Restrict access to students who have completed the previous task"

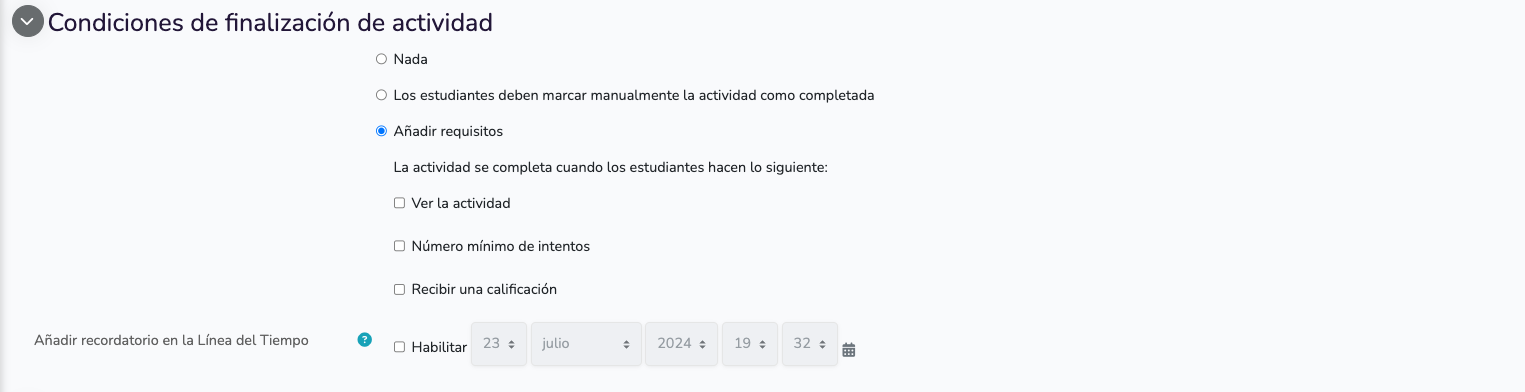
Activity Completion Conditions
Decide if you want to add conditions for activity completion.
- Add requirements: you can configure that the activity is completed upon viewing the activity, after a certain number of attempts, or after receiving a grade.
Tags
- Tags: You can use tags to organize your activities and resources within Moodle.
- Example: "Tag as 'important'"

Competencies
- Assign competencies: You can link the quiz with specific competencies that you want to assess.
- Example: "Assign competency '19th Century Mastery'"

STEP 3: Add questions to the quiz
-
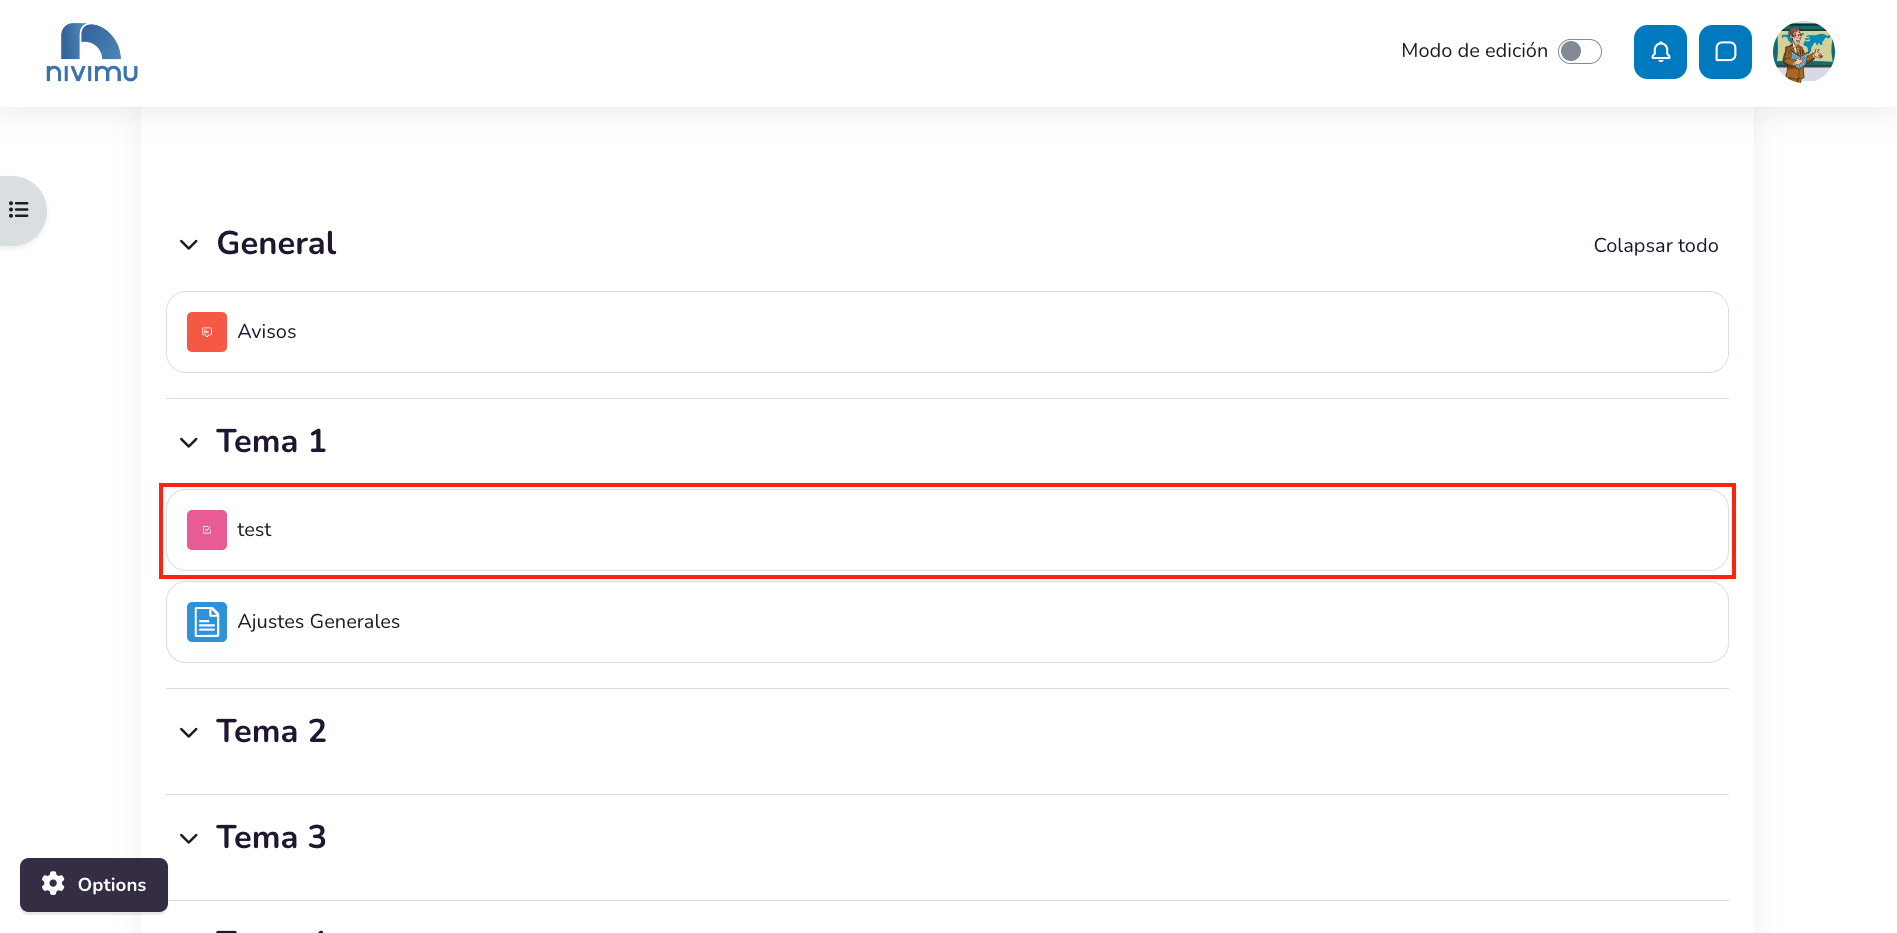
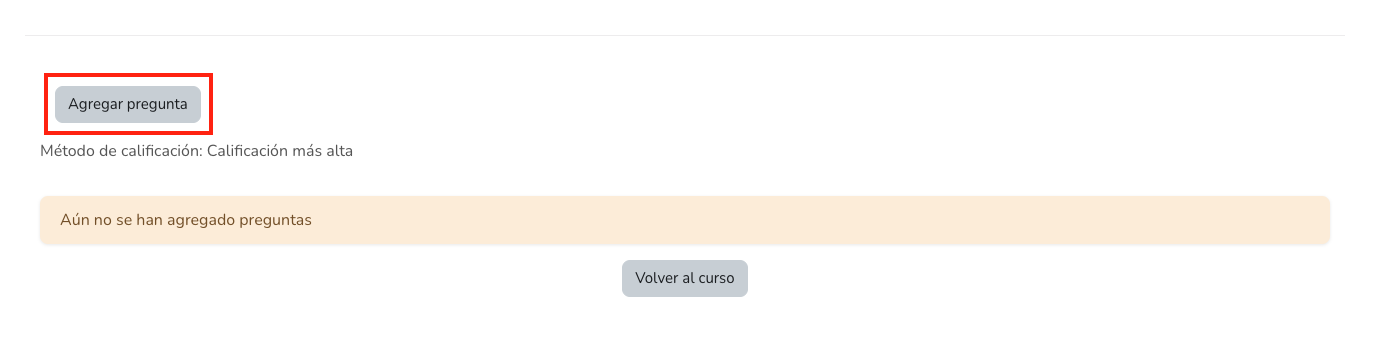
Go back to the course, and click on the quiz. Then, click on Add question.
-
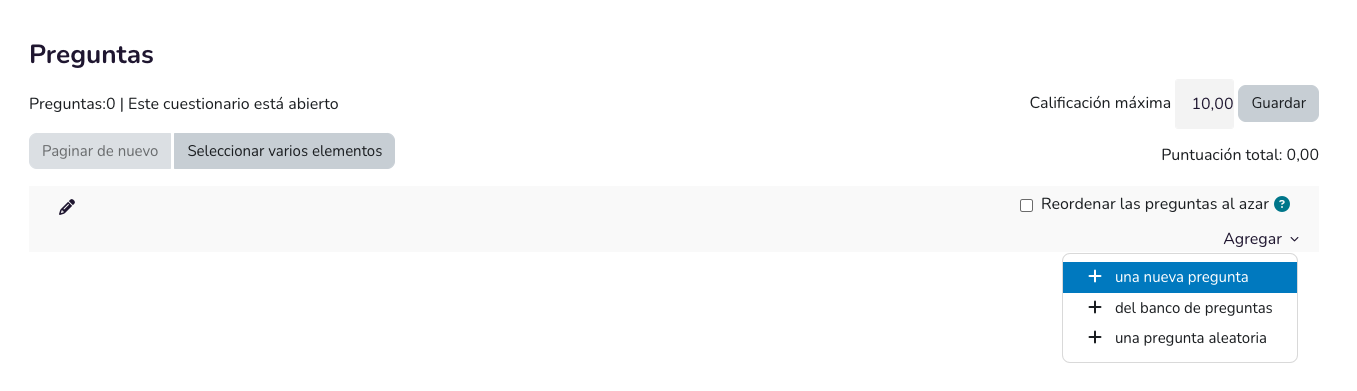
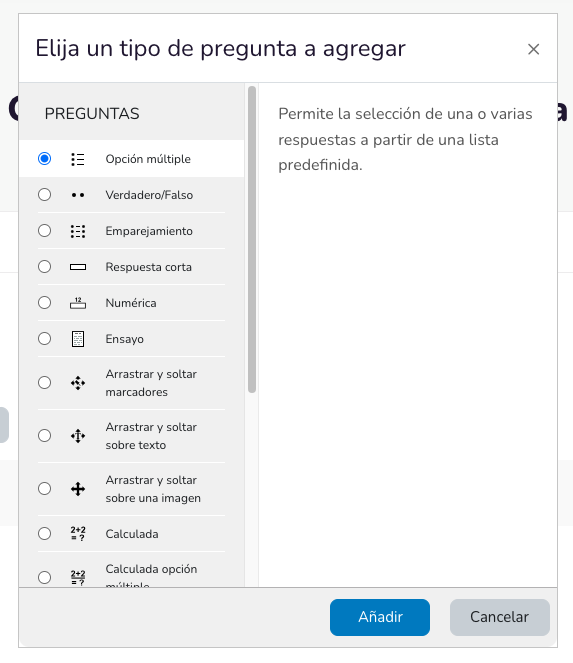
Click on Add → New question. Select the question type, and click on Add.
- Most common question types
-
Multiple choice
-
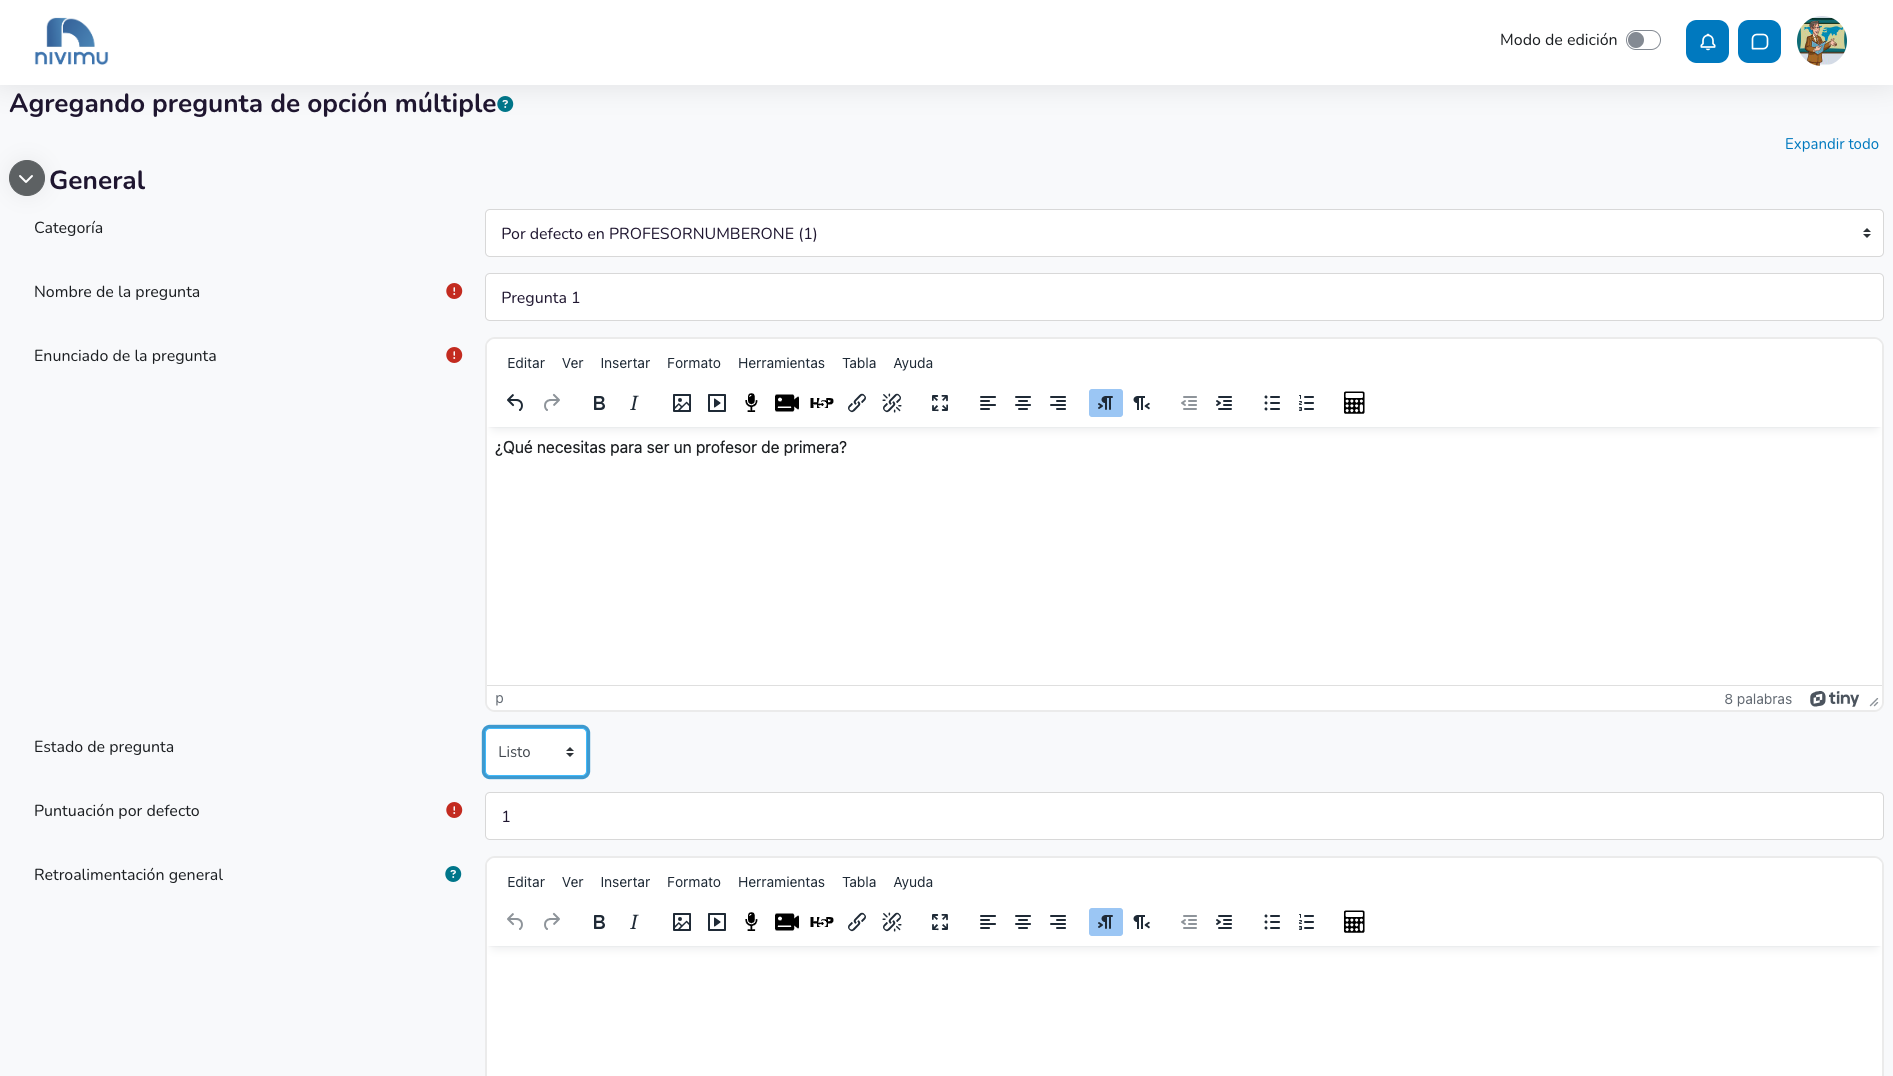
Fill in the question name, the statement, and the score it gives when correct.
-
Choose if only one answer is correct, or if several can be selected at once.

-
Choose if the answers change order with each attempt.

-
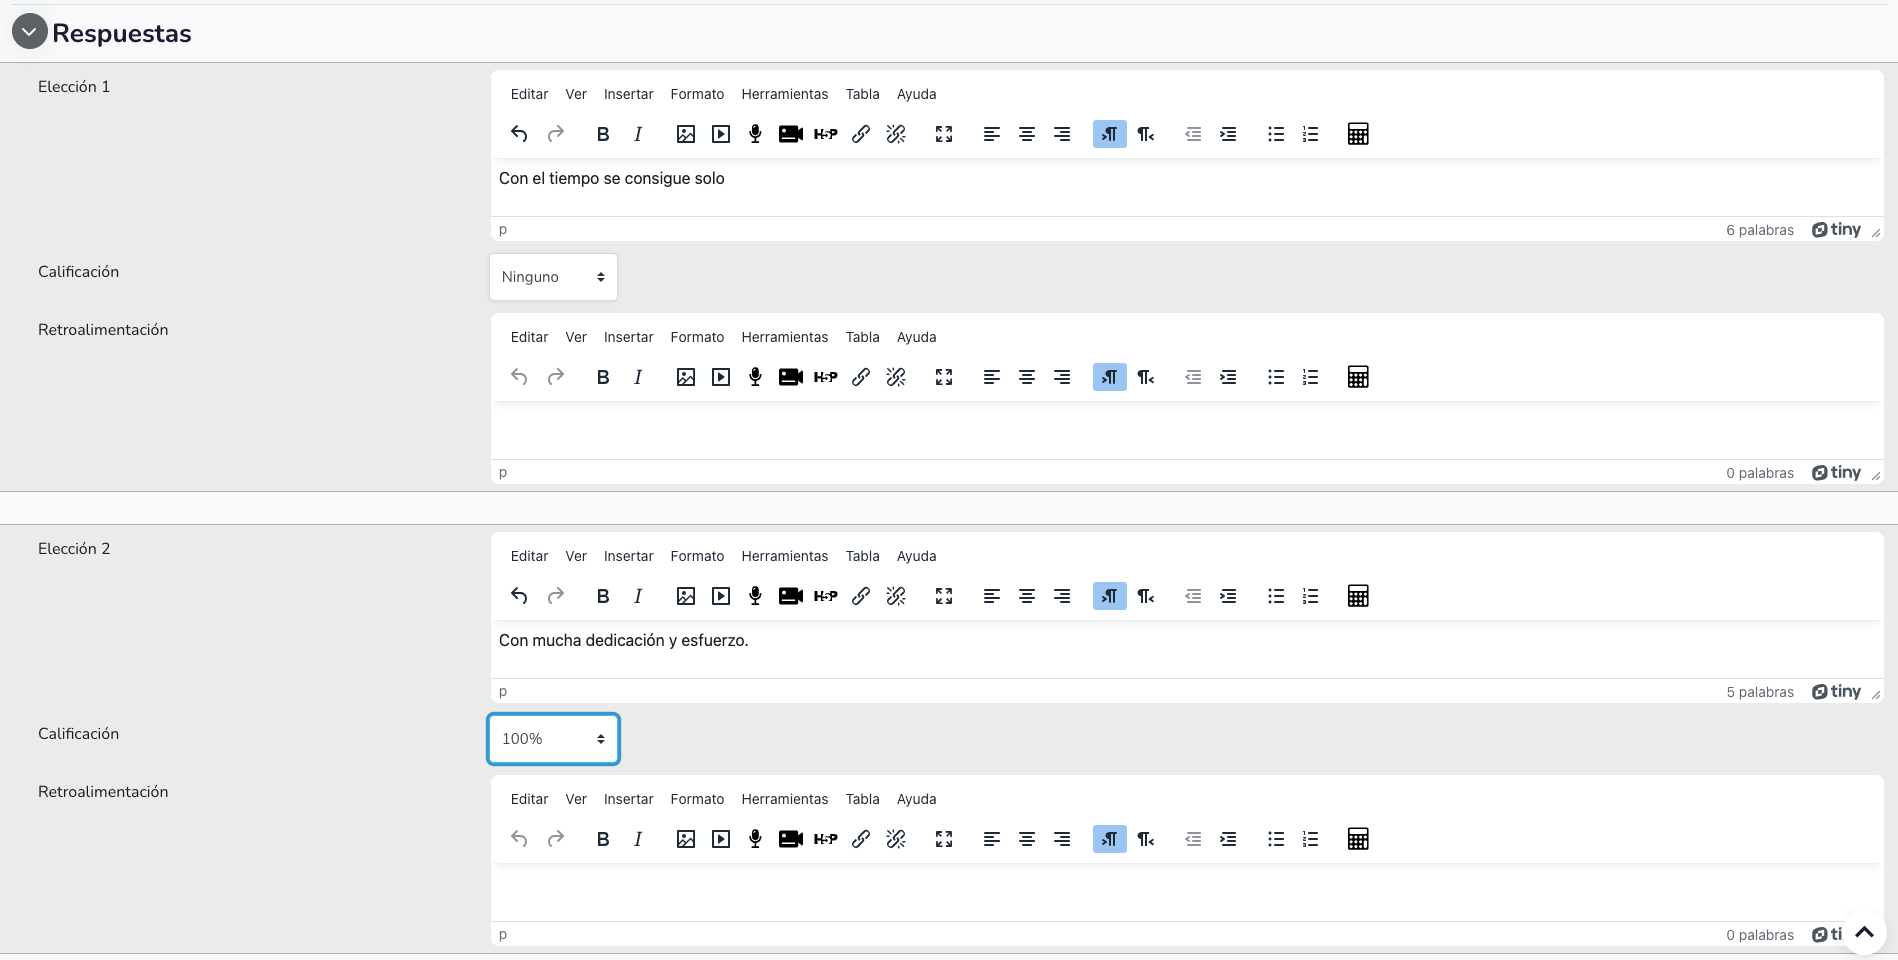
Fill in the answers, and the score each answer gives.
-
Incorrect answers must be configured with score None.
-
Partially correct answer(s), if any, must be configured with an intermediate percentage between 0 and 100%.
-
Correct answer(s) must be configured with a percentage of 100%.
-
If any answer should subtract points, it is possible to specify a negative percentage.
-
-
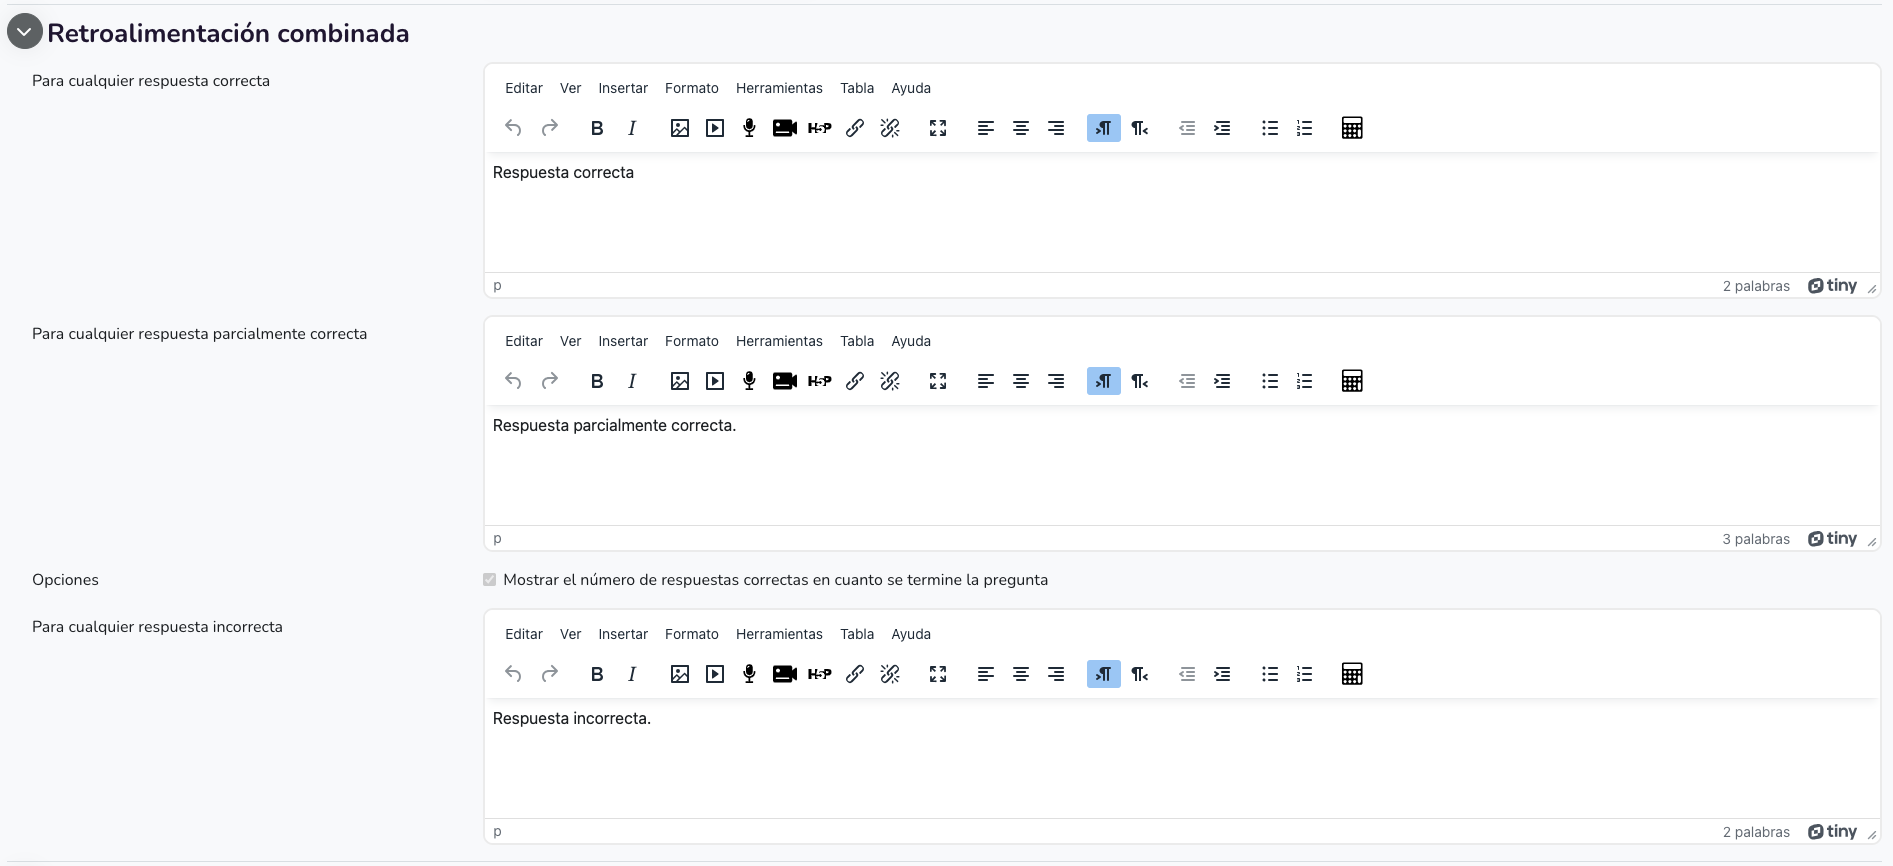
In the Combined feedback tab, you can customize the text the student sees when they get the question right or wrong.
-
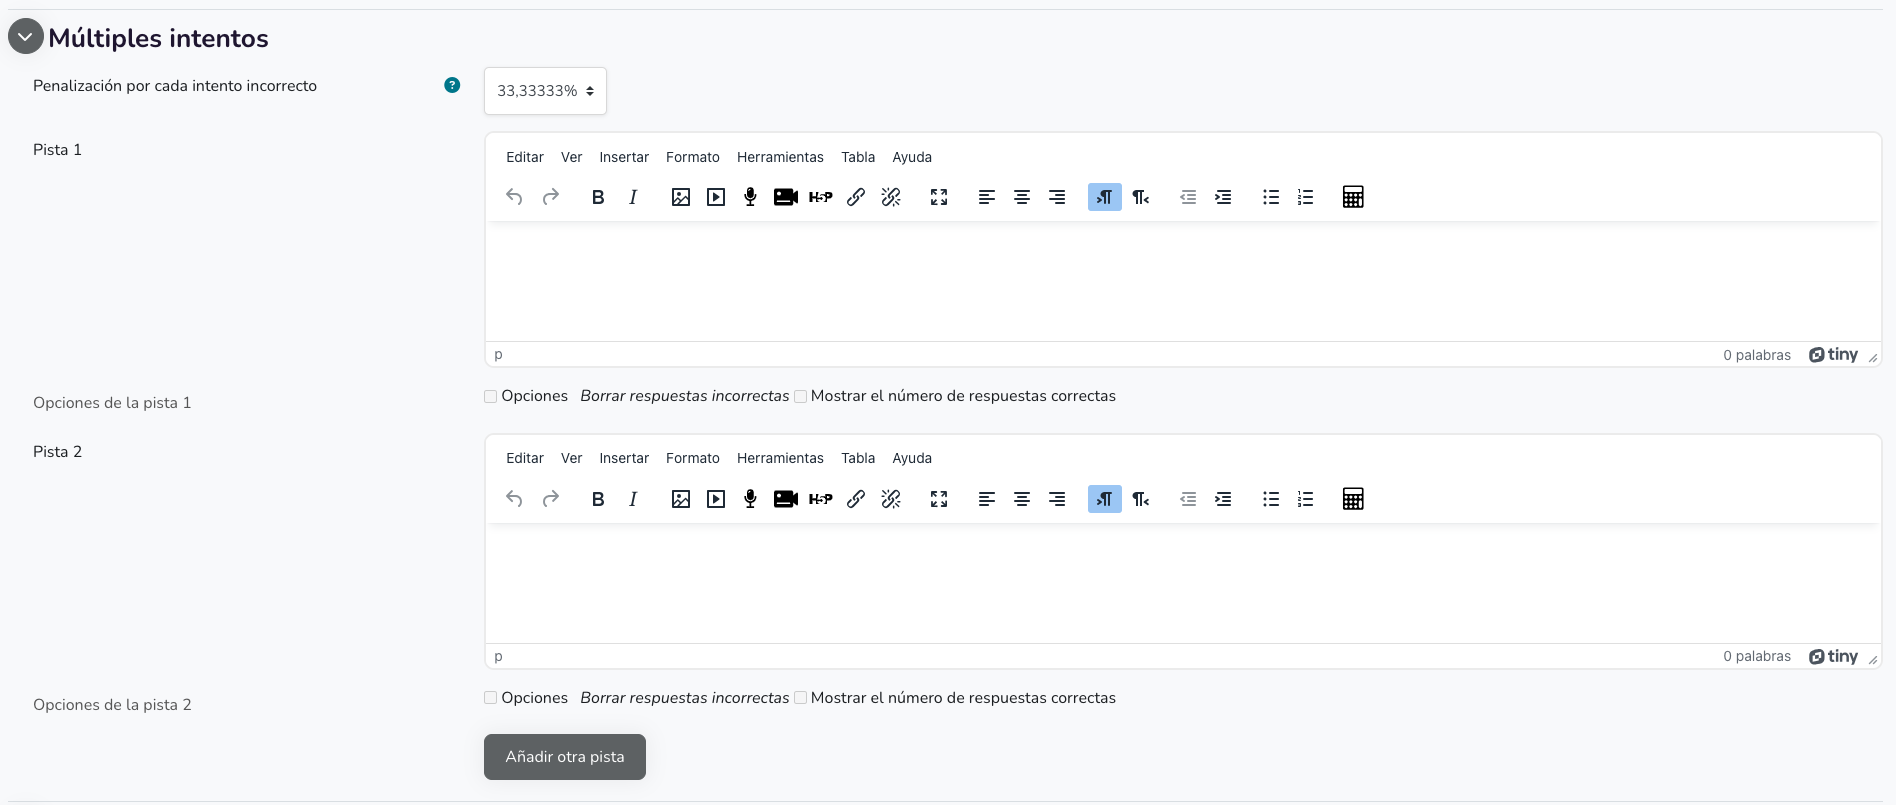
In the Multiple attempts tab, you can choose if the student receives hints when retrying the question, and the penalty percentage they receive on the total score of that question with each attempt.
-
When you have finished, save the changes.
-
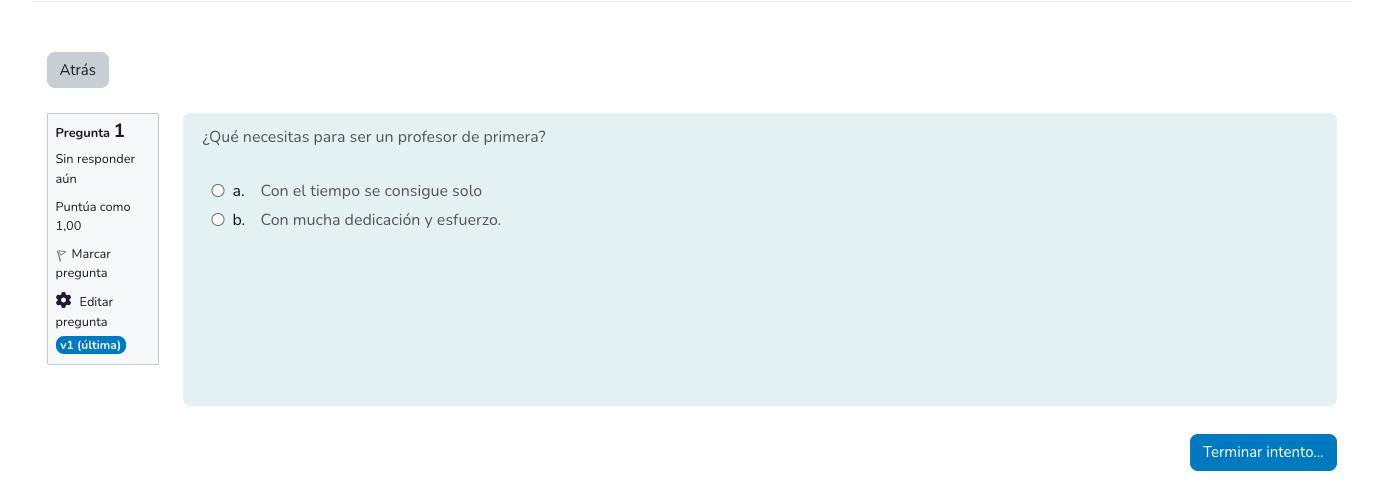
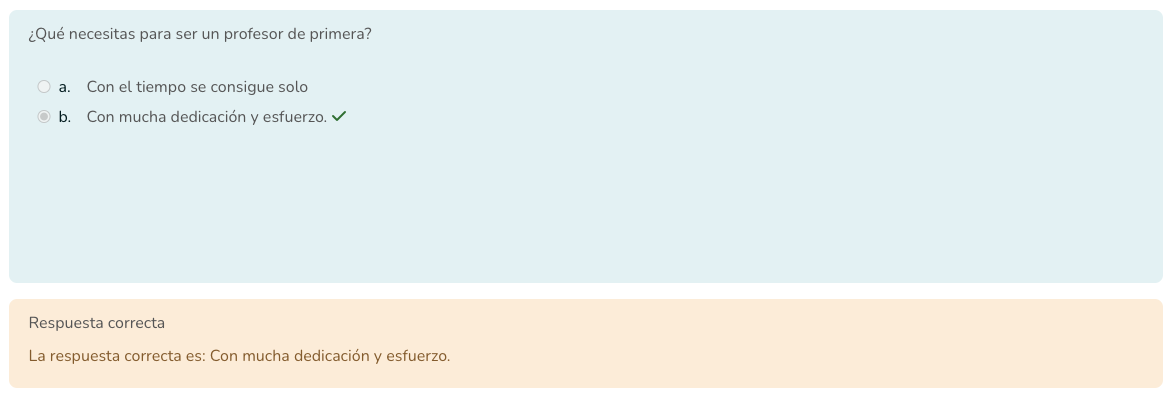
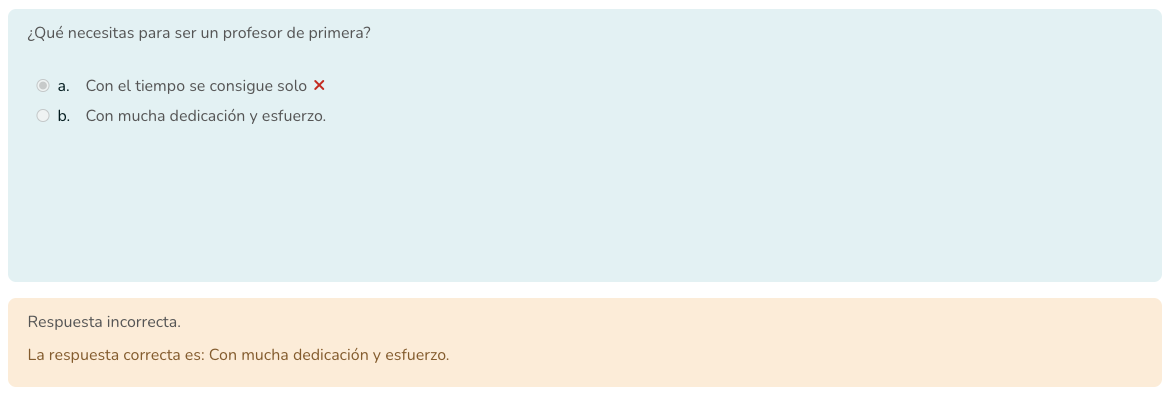
Final result:
-
-
True or false
-
Fill in the question name, the statement, the score it gives, and if the correct answer is True or False.
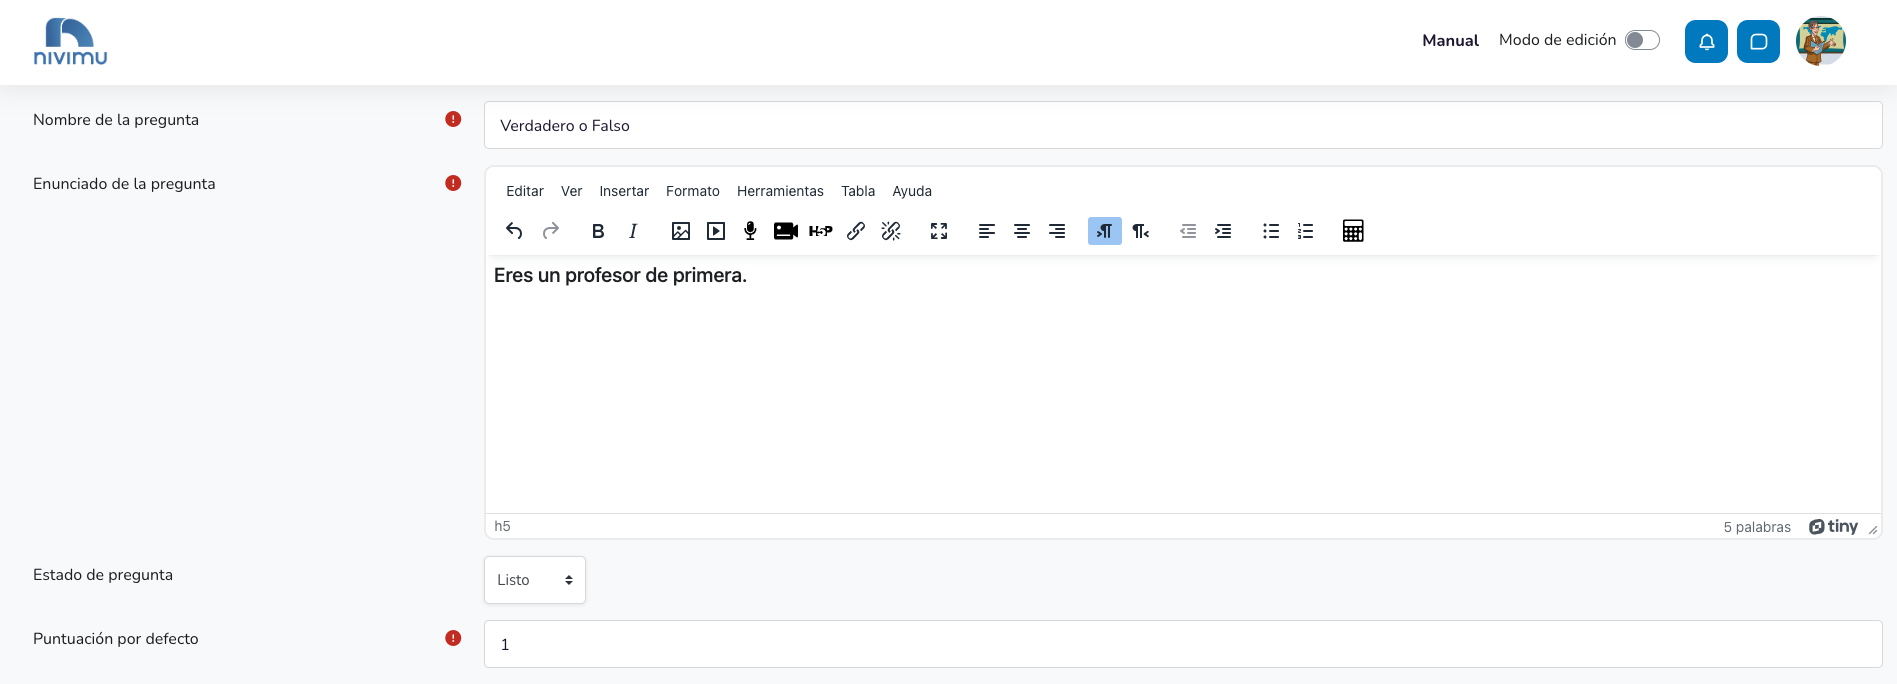

-
You can customize the message you get when marking True or False.
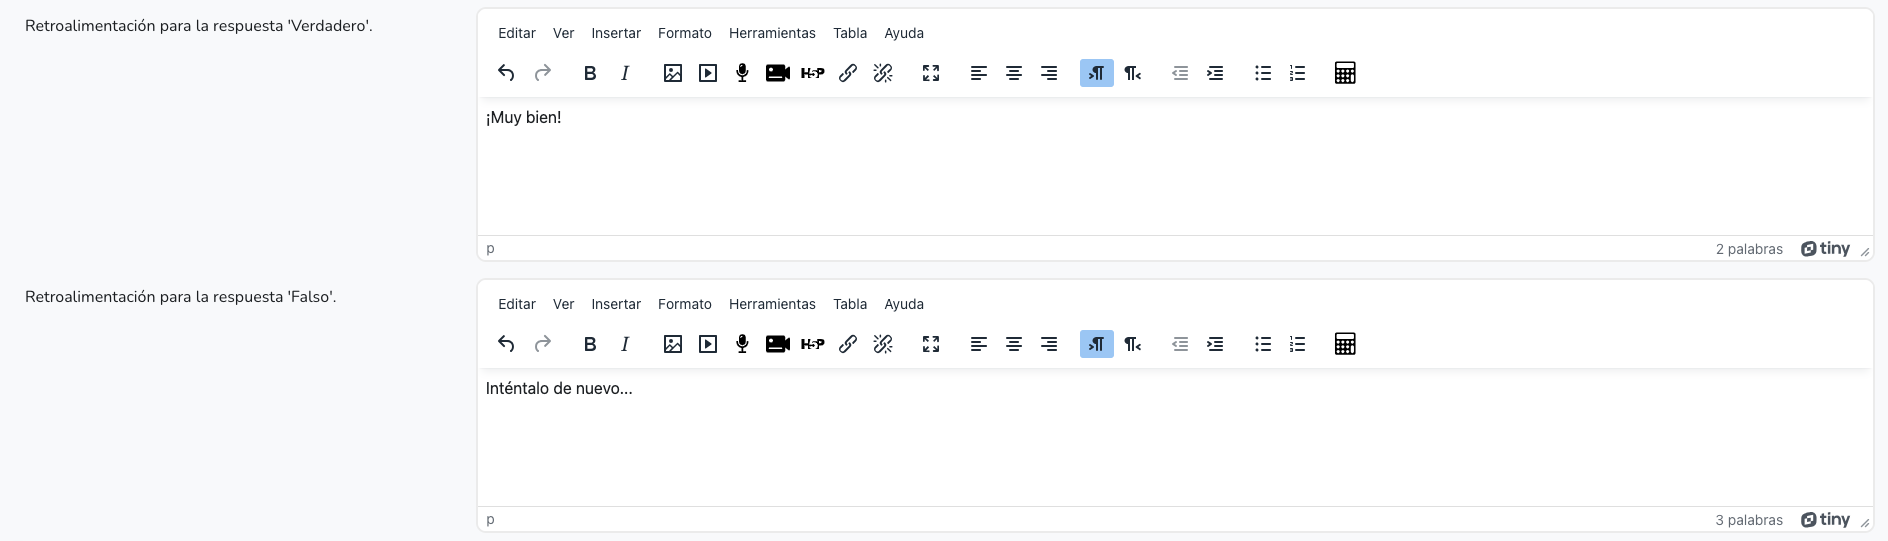
-
Save changes when finished.

-
Final result
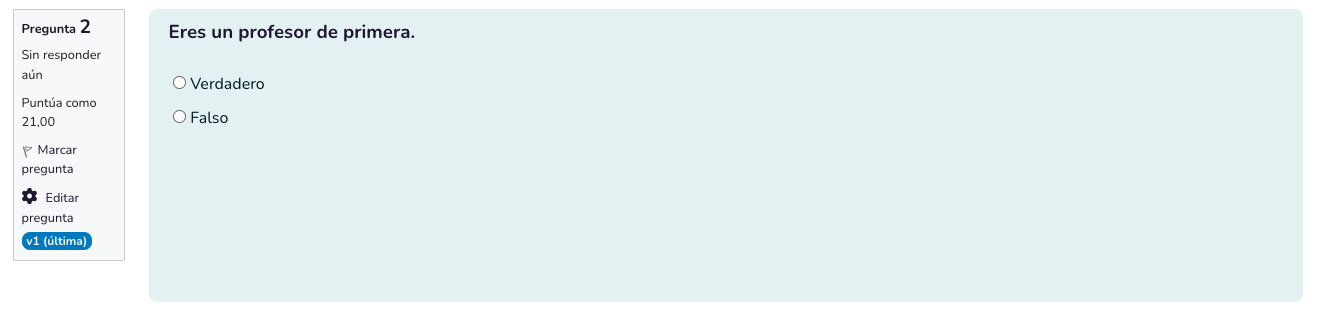
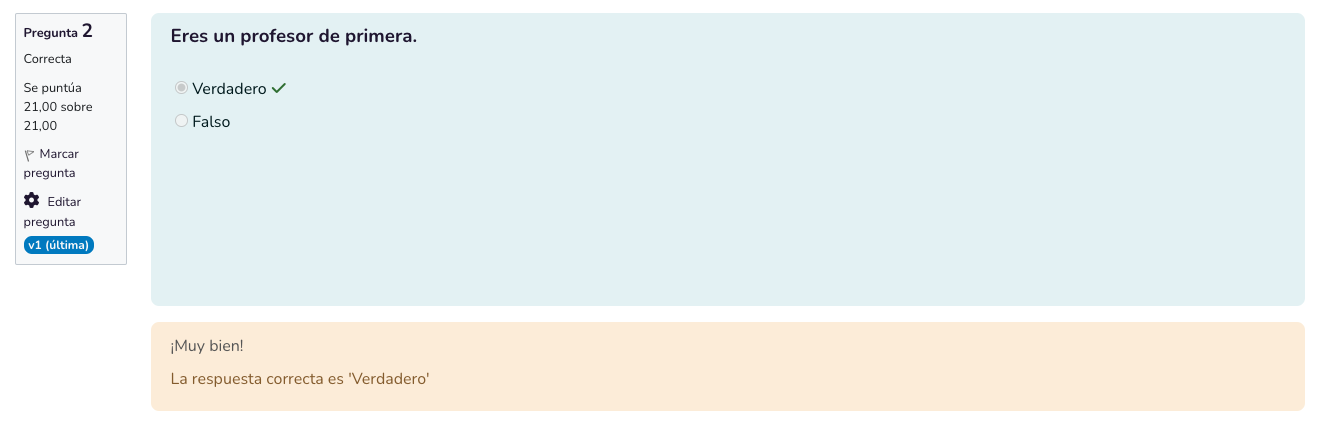
-
-
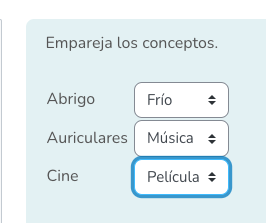
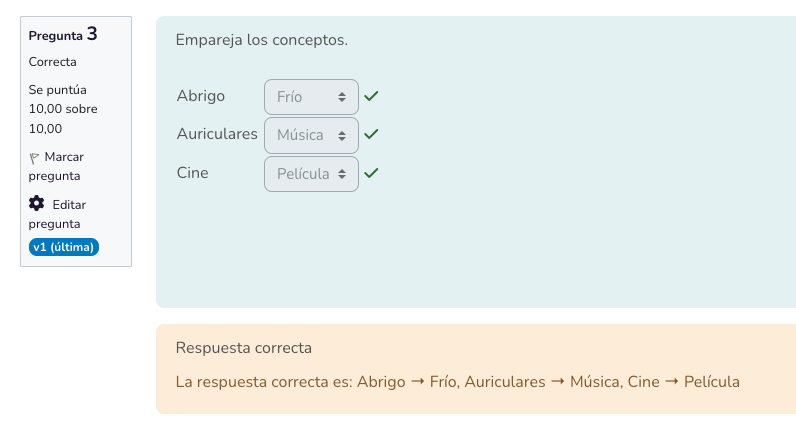
Matching
-
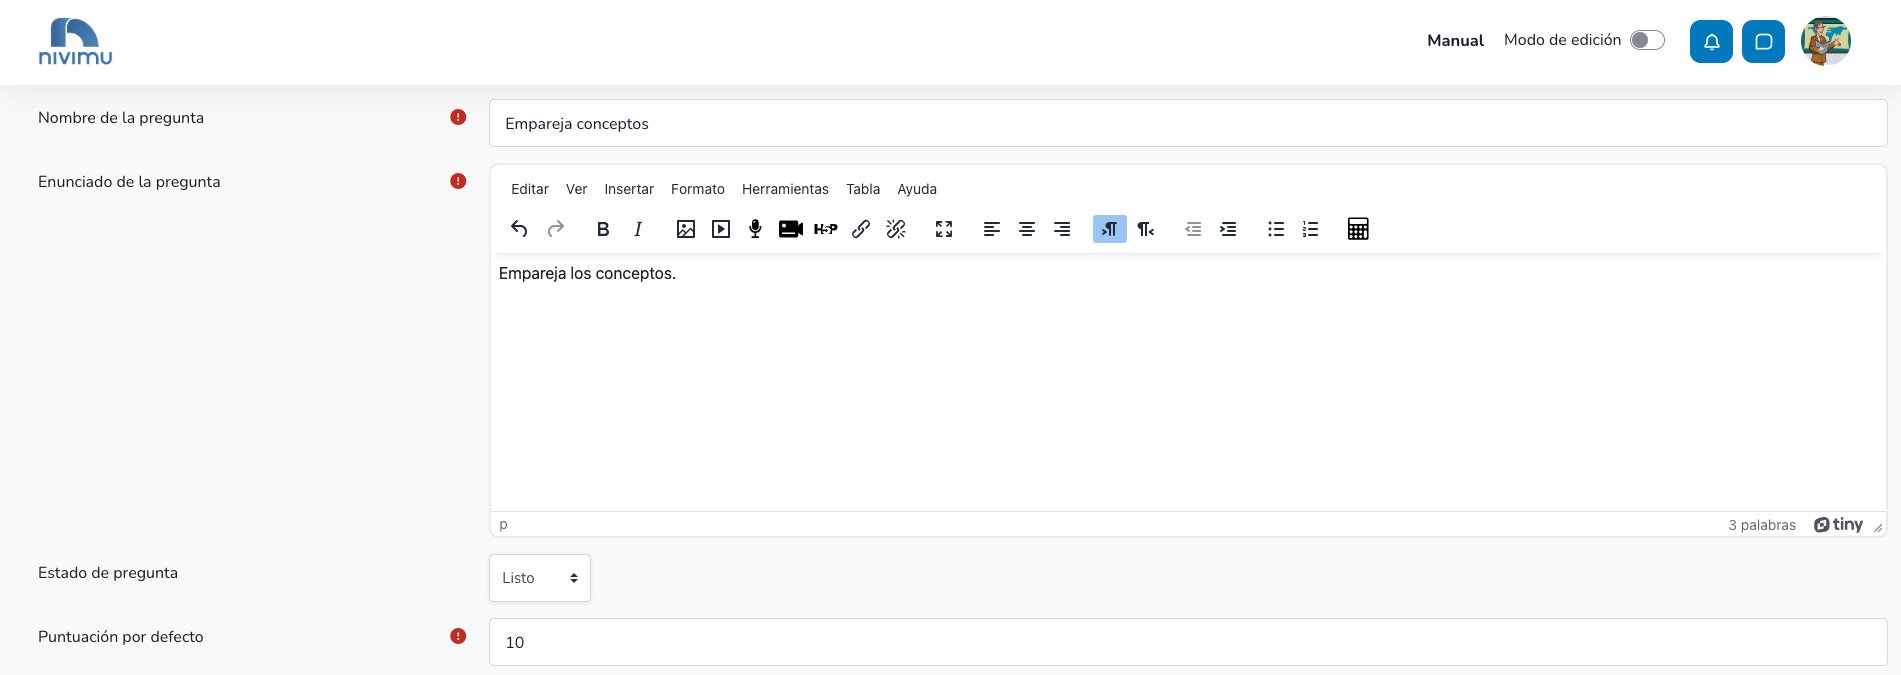
Fill in the question name, its statement, and the total score it can give.
-
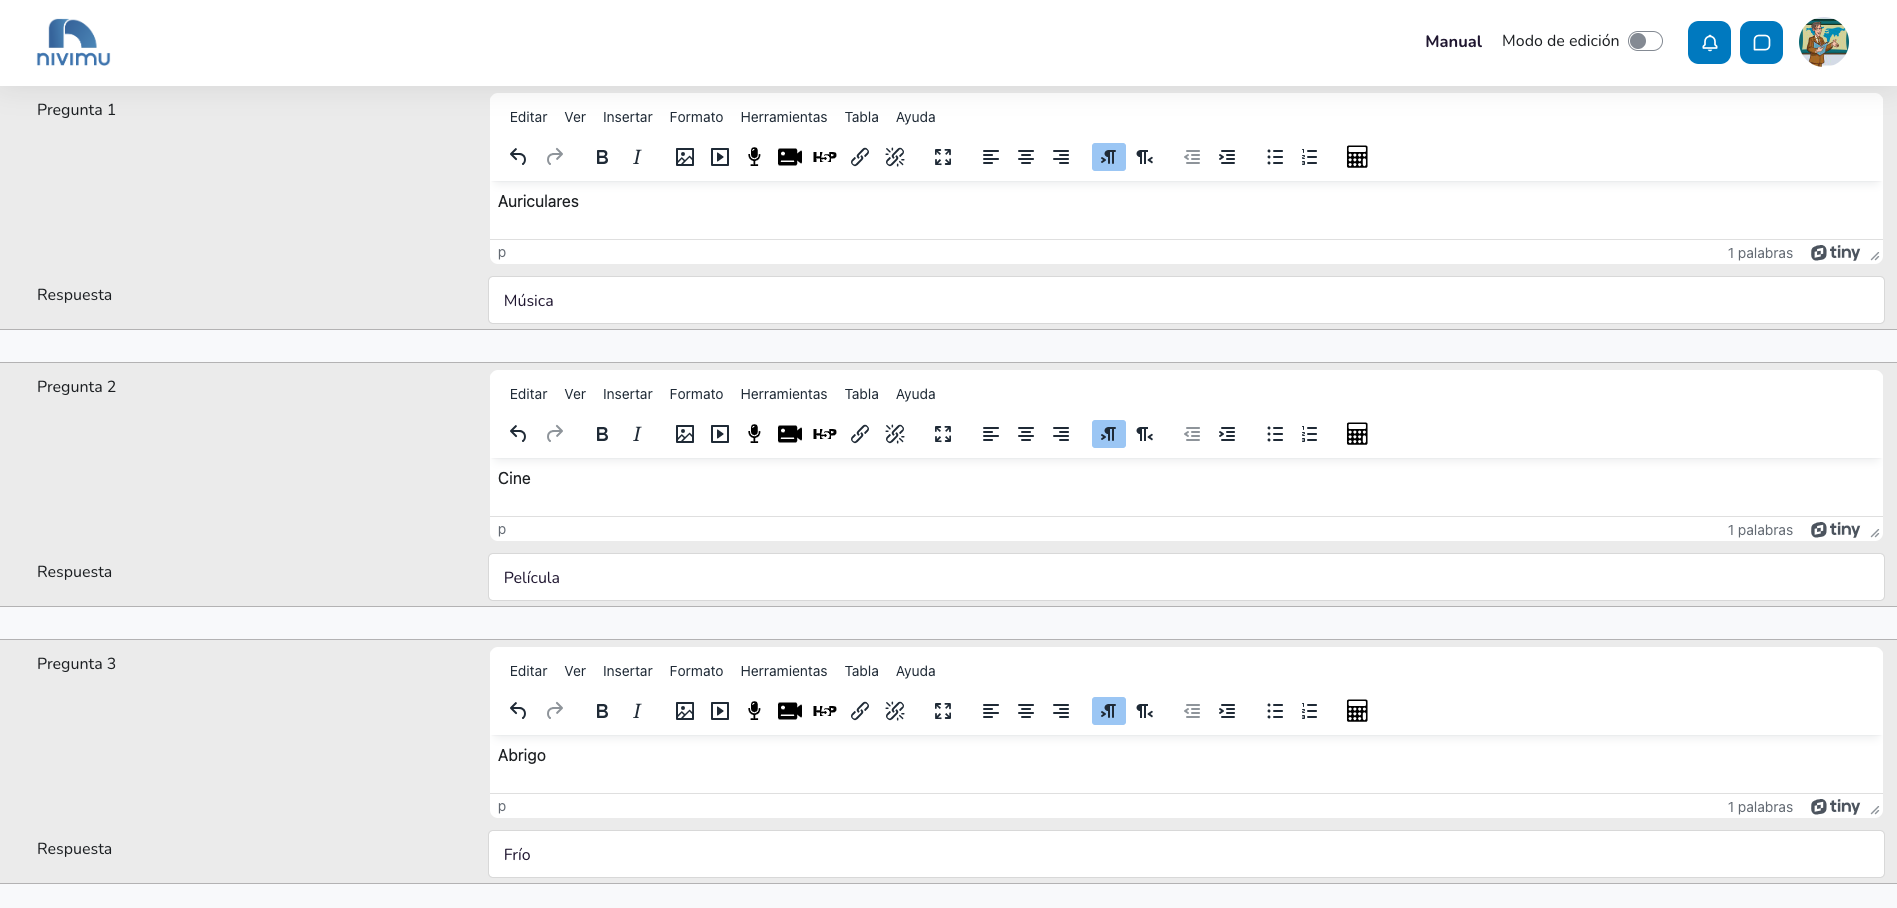
Provide at least two questions and three answers. To include trap answers that are not linked to questions, leave the Question field blank.

-
Choose if the answers change order with each attempt.

-
In the Combined feedback tab, you can customize the text the student sees when they get the question right or wrong.
-
In the Multiple attempts tab, you can choose if the student receives hints when retrying the question, and the penalty percentage they receive on the total score of that question with each attempt.
-
When you have finished, save the changes.
-
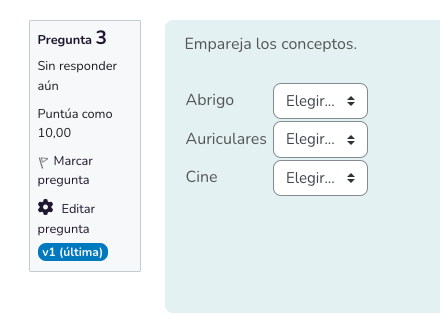
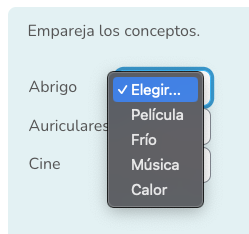
Final result
-
-