Add Scorm 📥
Step 1: Add an activity or resource
- Go to the course section where you want to add the SCORM file.
- Click "Add an activity or resource".
- In the list of activities and resources, select "SCORM Package".
- Click "Add".
Step 2: Upload the SCORM file
- You will see a form to configure your SCORM package.
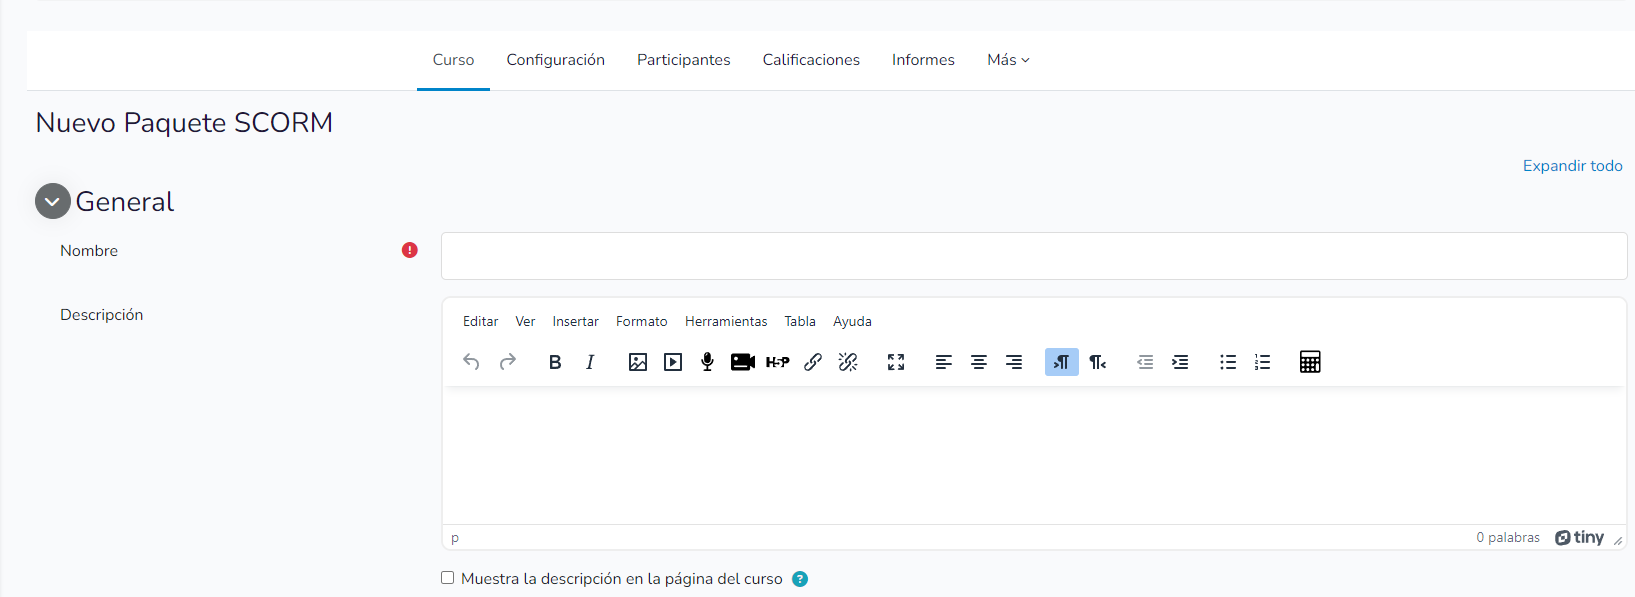
- Enter a name and description for your SCORM. This information will be visible to students.
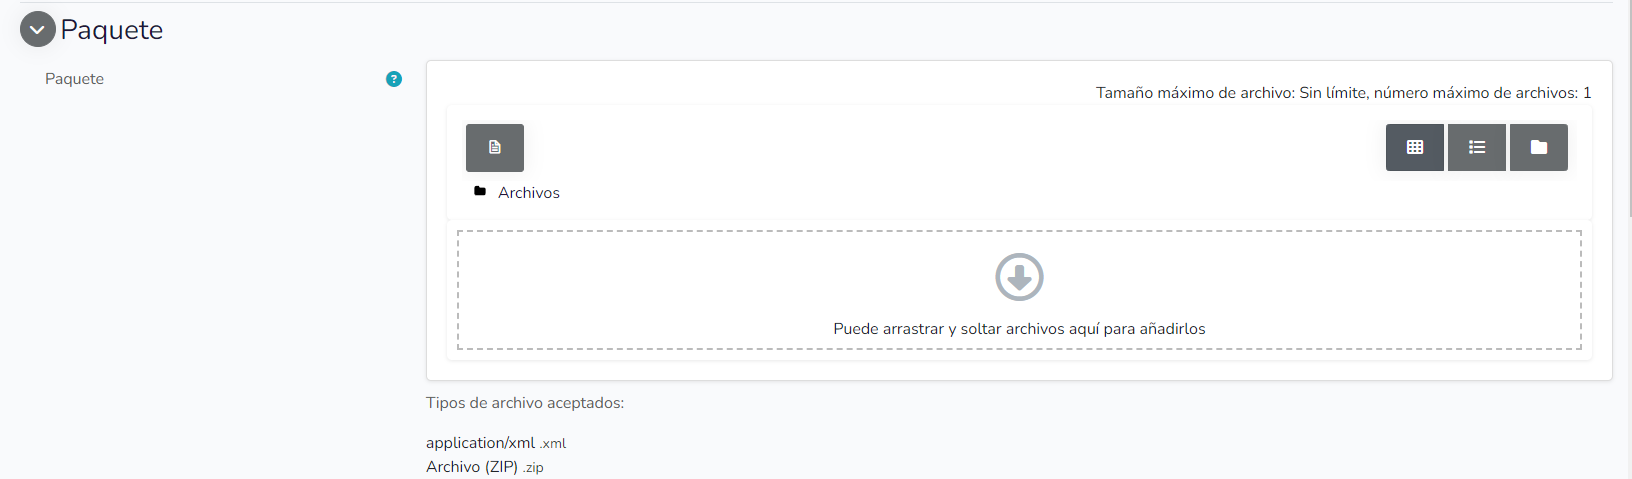
- In the "Package" section, click the file icon to upload your SCORM package.
- Drag and drop your SCORM file into the indicated area or use the "Choose file" button to find it on your computer.
- Wait for the file to upload completely.
Step 4: Configure the options
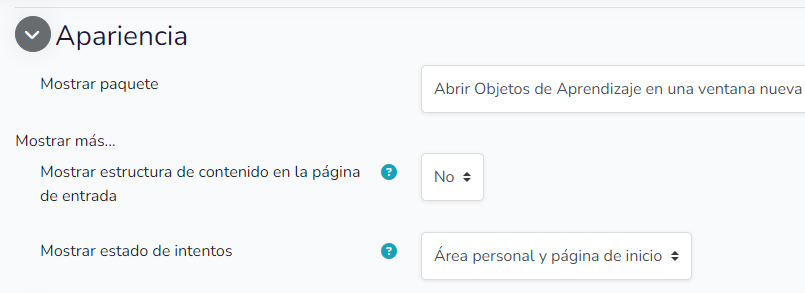
Appearance
- Display package: Choose how the SCORM package will be displayed:
- Current window: The SCORM content will be displayed in the same browser window.
- New window: The content will open in a popup window (Recommended for viewing on mobile devices).
- Show more: Decide if you want to show the table of contents and a summary of attempts on the SCORM summary page.
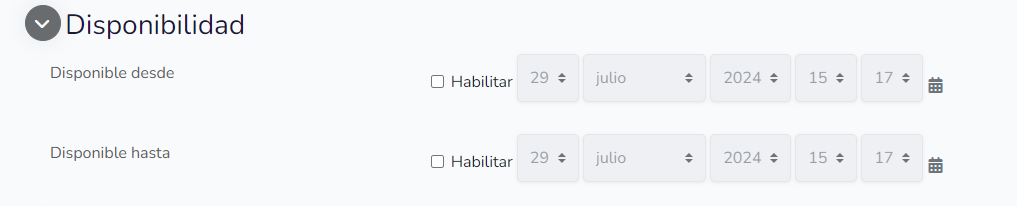
Availability
Choose from which date the Scorm will be available and what date it will stop being available.
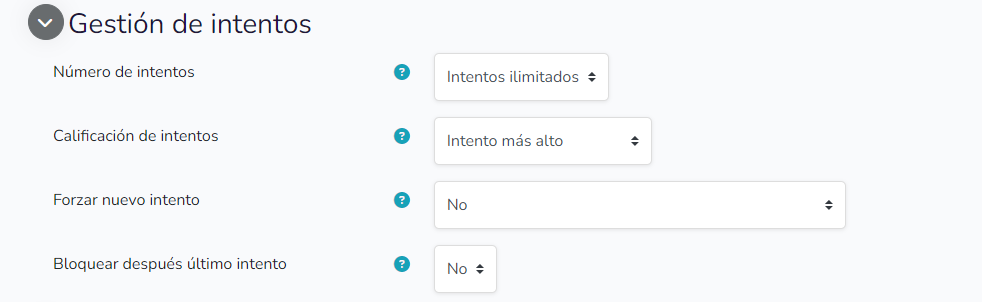
Attempts Management
- Number of attempts: Specify how many times students can attempt to complete the SCORM activity. You can choose between:
- Unlimited: Students can attempt the activity as many times as they wish.
- A specific number of attempts: Set a maximum limit of attempts.
- Attempts grading: Decide which of the attempts will be the one kept in the gradebook.
- Force new attempt: Determines how and when students are allowed to restart an attempt:
- No: Restarting attempts is not allowed.
- Always: Students can restart attempts at any time.
- When the previous one was completed, failed or passed.
Grading
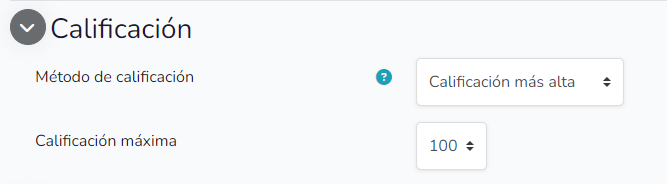
- Grading method: Select how the SCORM grade will be calculated:
- Highest grade: Uses the highest score obtained in all attempts.
- Average grade: Calculates the grade by averaging the scores of all attempts.
- Summed grades: Sum of all scores
- Maximum grade: Specify a maximum score
Compatibility Settings
- Force completion: The status of the current attempt will be automatically changed to "completed"
- Auto-continue: For the next available SCO to open automatically
- Auto-save: For data to be automatically saved in the database
- Domain score overrides status: The status will be recalculated using the net score

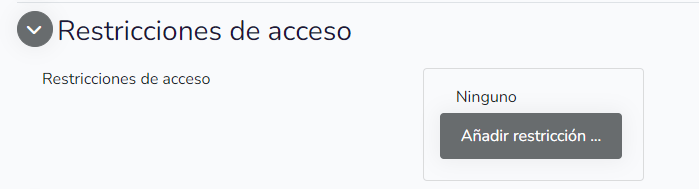
Access restrictions
- Access restrictions: You can configure restrictions based on dates, grades, completion of other activities, groups, etc. This allows more detailed control over who and when can access the SCORM activity.
Activity completion conditions
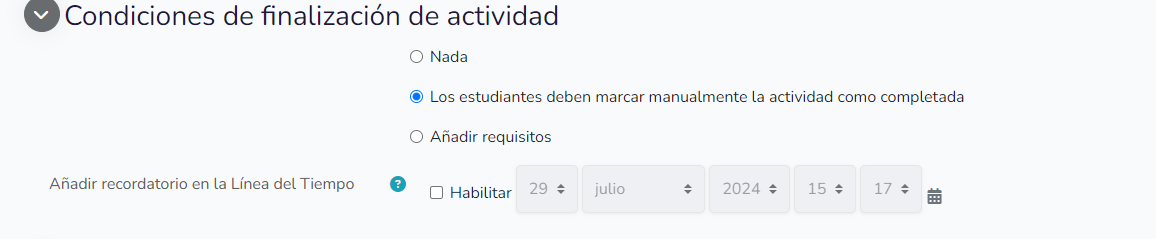
Configure requirements for the activity to be considered finished, for example:
- View the activity: Students must view the activity to mark it as completed.
- Requires minimum score: Students must obtain a grade for the activity to be considered completed.
- Requires number of views: Specify how many times they must view the activity to mark it as completed.
Tags
- Tags: You can use tags to organize your activities and resources within Moodle.
- Example: "Tag as 'important'"

Competencies
- Assign competencies: You can link the quiz with specific competencies that you want to assess.
- Example: "Assign competency 'Mastery of the 19th century'"
Step 5: Save and return to course
- Once you are satisfied with the configuration, click "Save changes and return to course" to apply your settings.
Step 6: Test your SCORM
- To ensure everything is working correctly, click on your SCORM activity.
- Navigate through it to verify that it loads correctly and that all interactions work.
Step 8: Verify the final configuration
- Review that all applied settings are correct and that the activity behaves as expected.
- If necessary, adjust any settings that are not working as they should.